Mirai made headlines in 2016 when it knocked much of the internet offline by enslaving millions of Internet-of-Things devices into a massive botnet. Originally designed to compromise Linux-based routers, cameras, and DVRs, newer variants now target Windows systems as well. If you've noticed your computer running slowly, connecting to strange IP addresses, or participating in network attacks without your knowledge, you may be dealing with a Mirai infection—and you need to act quickly before your machine becomes a weapon in someone else's cyberwar.
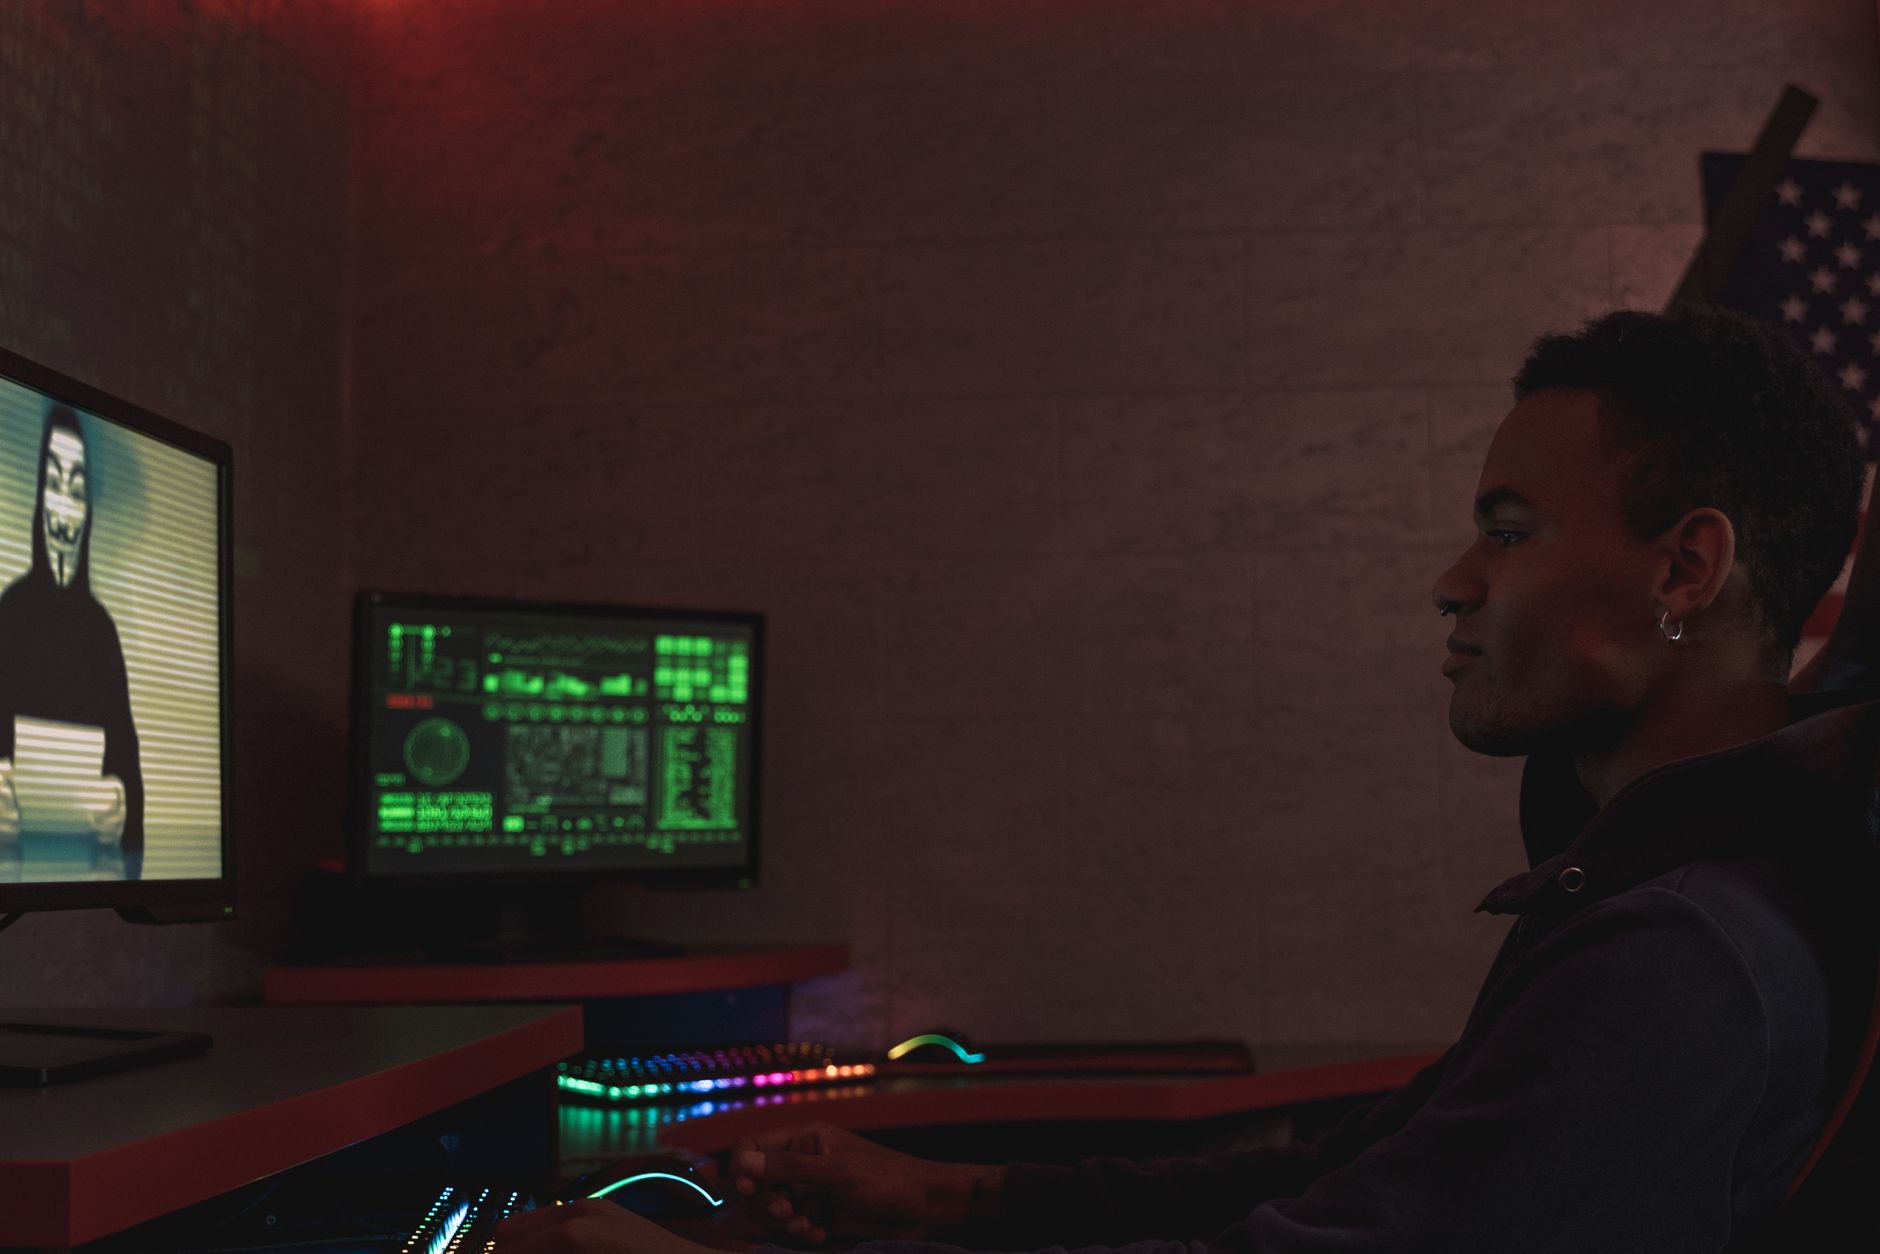
This malware doesn't ask for ransom or steal your files in obvious ways. Instead, it quietly converts your PC into a drone that attackers control remotely, using your bandwidth and processing power to launch distributed denial-of-service (DDoS) attacks against websites, gaming servers, and critical infrastructure. Most victims don't realize they're infected until their internet slows to a crawl or their ISP contacts them about suspicious network activity.
Threat Profile
| Threat Name | Mirai |
|---|---|
| Threat Type | Botnet malware / DDoS agent |
| Platform | Windows (PE executable); original variants target Linux/IoT |
| File Type | Windows PE executable |
| First Observed | August 2016 (Linux); Windows variants 2017–present |
| Detection Names | Mirai (generic family detection across engines) |
| Severity | High—enables participation in criminal botnet operations |
| Network Activity | Extensive—outbound scanning on ports 23, 2323, 7547; command-and-control check-ins; DDoS traffic generation |
| Persistence Mechanism | Registry Run keys, scheduled tasks, service installation (varies by variant) |
| Primary Payload | DDoS attack modules (SYN flood, UDP flood, HTTP flood, GRE flood) |
| Target Audience | Indiscriminate—home users, small businesses, any vulnerable system |
| Removal Difficulty | Moderate to high—requires thorough cleanup to prevent re-infection from compromised credentials |
How It Spreads
Mirai's original claim to fame was its ability to guess default passwords on internet-connected devices—security cameras with "admin/admin" credentials, routers still using factory settings, and DVRs that ship with weak passwords. The Windows variants adopt similar brute-force tactics but also leverage more traditional infection vectors. Unlike ransomware that arrives via obvious phishing emails, Mirai often sneaks in through poorly secured remote access services or bundled with pirated software.
The malware spreads aggressively once it establishes a foothold. Infected machines immediately begin scanning the internet for additional vulnerable targets, attempting thousands of login combinations per minute. This creates a self-perpetuating cycle where each new victim becomes a scanner looking for the next weak link. Network administrators sometimes mistake this behavior for a legitimate security scanner, which delays detection and removal.
Common infection vectors include:
- Brute-force attacks on exposed RDP or SSH services—if you've enabled Remote Desktop and left it accessible from the internet without strong authentication, you're a prime target
- Exploits in unpatched network services—older vulnerabilities in Windows file sharing, UPnP implementations, and third-party remote management tools
- Drive-by downloads from compromised websites—malicious advertisements and exploit kits that test for browser vulnerabilities
- Software cracks and keygens—pirated software bundles frequently include botnet malware as "bonus" payload
- Infected USB drives—some variants spread through removable media with autorun capabilities
- Lateral movement within networks—once Mirai infects one machine, it scans your local network for additional targets behind your router
What It Does On Your Machine
Mirai operates as a background service designed to be invisible to casual users. After initial infection, it establishes persistence through registry modifications and creates communication channels with command-and-control servers. The malware then waits for instructions—which specific website to attack, what type of flood to generate, how long to sustain the assault. Your computer becomes a soldier in a mercenary army, launching attacks against targets you've never heard of for causes you don't support.
The performance impact varies depending on the attack commands received. During idle periods, you might notice only slightly elevated network activity and occasional CPU spikes. When the botnet activates for a DDoS campaign, your system will bog down significantly—applications freeze, web browsing crawls, and your internet connection becomes unusable. Some variants also include cryptocurrency mining modules that run during "downtime," generating revenue for the attackers while maxing out your processor and driving up your electricity bill.
Behavioral indicators observed in sandbox environments and real-world infections include:
Beyond the immediate performance degradation, Mirai infections create serious legal and security risks. Your IP address appears in attack logs at victim sites, potentially resulting in abuse complaints from your ISP, blacklisting of your network, or even law enforcement inquiries. The malware may also download additional payloads—keyloggers, ransomware, or information stealers—that compromise your personal data while your system participates in botnet operations. Some variants disable Windows Defender and other security software to protect themselves from removal.
Manual Removal — Step by Step
Disconnect from the Internet
Unplug your Ethernet cable or disable Wi-Fi before proceeding. This prevents the malware from receiving new commands, downloading additional payloads, or spreading to other devices on your network. Do not skip this step—active Mirai infections can reinfect your system faster than you can remove files.
Boot into Safe Mode with Networking
Restart your computer and press F8 (or Shift+F8 on newer systems) during boot to access Advanced Startup Options. Select "Safe Mode with Networking." This loads Windows with minimal drivers and prevents most malware from launching automatically, giving you a cleaner environment for removal work.
Check for Suspicious Auto-Start Entries
Press Win+R, type msconfig, and press Enter. Navigate to the Startup tab (or click "Open Task Manager" on Windows 10/11). Look for unfamiliar entries with random names or legitimate-sounding names running from unusual locations like AppData\Roaming or Windows\Temp. Disable anything suspicious but don't delete files yet—you need to document locations first.
Examine Running Processes
Open Task Manager (Ctrl+Shift+Esc) and review the Processes tab carefully. Mirai often masquerades as "svchost.exe" or "winlogon.exe" running from user directories rather than System32. Right-click suspicious processes, select "Open file location," and note the full path. Legitimate Windows processes always run from C:\Windows\System32—anything elsewhere is suspicious.
Run Antimalware Scans
Download and run Malwarebytes (free trial available) and perform a full system scan. Follow up with Windows Defender Offline—access it through Windows Security > Virus & threat protection > Scan options. Use at least two different scanners since Mirai variants evolve rapidly and single-product detection isn't guaranteed. Quarantine everything flagged as malicious.
Manually Delete Persistent Files
Navigate to the file locations you documented earlier. Common hiding spots include C:\Users\[YourName]\AppData\Roaming, C:\Windows\Temp, and C:\ProgramData. Delete the malicious executables—you may need to take ownership of files if Windows denies permission. Empty your Recycle Bin completely after deletion to prevent restoration.
Clean the Registry
Press Win+R, type regedit, and navigate to HKEY_CURRENT_USER\Software\Microsoft\Windows\CurrentVersion\Run and HKEY_LOCAL_MACHINE\Software\Microsoft\Windows\CurrentVersion\Run. Delete any entries pointing to the malicious files you removed. Search the registry (Ctrl+F) for the malware filename and remove all references. Back up your registry first using File > Export in case something goes wrong.
Check Scheduled Tasks
Open Task Scheduler (search for it in the Start menu) and review the Task Scheduler Library. Look for tasks with random names, tasks that run files from Temp folders, or tasks created recently that you don't recognize. Right-click and delete any suspicious entries. Mirai sometimes creates tasks that re-download the malware if the main executable is removed.
Reset Network Settings
Open Command Prompt as administrator and run these commands: netsh winsock reset, netsh int ip reset, and ipconfig /flushdns. Restart your computer after running these commands. This clears any malicious proxy configurations or DNS hijacks that Mirai may have installed to maintain control or redirect your traffic.
Change All Passwords
Before reconnecting to the internet, change passwords for your Windows account, router admin panel, and any services you access from this computer—especially banking, email, and social media. Mirai infections often harvest credentials, and variants may include keylogging components. Use a different, clean device for critical password resets if available.
Prevention
- Disable or properly secure Remote Desktop—if you don't actively use RDP, turn it off completely in System Properties > Remote tab. If you need remote access, use a VPN and enforce strong, unique passwords with account lockout policies after failed attempts.
- Keep Windows and all software updated—enable automatic updates for Windows and regularly check for firmware updates on your router and IoT devices. Mirai exploits known vulnerabilities that patches have addressed for years; unpatched systems are low-hanging fruit.
- Change default credentials on all network devices—your router, security cameras, smart TVs, and printers all ship with factory passwords. Change every single one to strong, unique credentials. This is how Mirai originally built its empire, and it still works today.
- Use a proper firewall—Windows Firewall provides basic protection, but consider a dedicated hardware firewall or properly configured router firewall. Block all inbound connections except those explicitly required, and consider blocking outbound connections from unknown applications.
- Install and maintain reputable antivirus software—Windows Defender is decent but not infallible. Supplement it with periodic scans from Malwarebytes or similar tools. Keep real-time protection enabled and don't dismiss security warnings without investigation.
- Avoid pirated software entirely—cracks, keygens, and "free" versions of paid software are infection vectors waiting to happen. The money you "save" will be dwarfed by repair costs and potential data loss. If you can't afford software, look for legitimate free alternatives instead.
- Segment your network—place IoT devices on a separate network (guest WiFi) isolated from computers containing sensitive data. This way, if a smart lightbulb gets infected, the malware can't easily jump to your work computer.
- Monitor network activity—unusual spikes in outbound traffic, especially on odd ports, indicate potential infection. Many routers provide basic traffic monitoring; review logs periodically for suspicious patterns like connection attempts to foreign IP addresses or scanning behavior.
Bring It In
Mirai removal looks straightforward on paper, but the reality involves hunting through registry keys, identifying disguised processes among hundreds of legitimate ones, and ensuring no persistence mechanisms survive to re-infect your system after cleanup. One missed scheduled task or overlooked startup entry means the malware returns within hours, and you're back to square one. Our technicians have removed countless botnet infections and know the hiding spots that automated tools miss. We use professional-grade forensic tools and manual inspection techniques to verify complete eradication—not just disappearing symptoms.
Computer Repair Roswell is located at 510 GA-120 in Roswell, serving homeowners and small businesses throughout North Fulton County. Bring your infected machine to our shop for same-day diagnosis and transparent pricing—no hidden fees, no unnecessary upsells. We'll explain exactly what we find, walk you through prevention steps, and make sure your system is genuinely clean before you leave. Call (770) 856-1210 to schedule an appointment or stop by during business hours. Don't let your computer continue serving as someone else's attack drone—let's shut this down properly and get you back to safe computing.